Starting again with Jekyll
Since setting up this blog I haven’t really bothered with Jekyll any more than just forking Barry Clarke’s repo of Jekyll Now and adding these posts as and when the feeling takes me.
So I got to checking out Barry’s blog and his Jekyll Now templates and tried to make sense of the two so I could make my own, based off of the ideas I got from Barry’s blog.
Development environment, enter Cloud 9
I tried to set up Ruby on my Windows machine and it didn’t go well, then I tried to set it up on my Raspberry Pi, that didn’t go well either. Then I recalled that I could have any number of different environments with Cloud9 so I set up a Ruby machine on there and installed Jekyll, no problem
Setup
It wasn’t as simple as just going to the local host page as it’s a cloud based system so after som digging I found this from Jean-François L’Heureux jflheureux on GitHub.
https://www.jflh.ca/2016-01-18-running-jekyll-on-cloud9
Basically you need to set up a Run Configuration on your c9 box, thanks for that Jean-François.
CSS
For some reason I thought that a Jekyll page didn’t use CSS, well the
reason may have been that there was nothing like that in the ‘vanilla’
Jekyll site when you run the jekyll new myblog you get very little
in the was of bells and whistles.
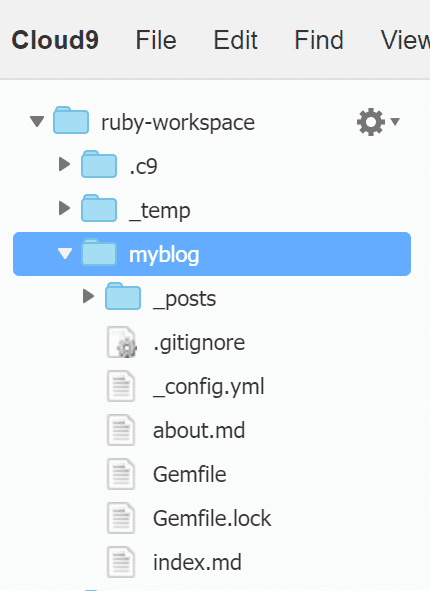
here is the base project
Running the following from the terminal on my Ruby development box
1~ $ gem install jekyll bundler2~ $ jekyll new myblog3~ $ cd myblogOmitting the ~/myblog $ bundle exec jekyll serve and
# => Now browse to http://localhost:4000 for reasons just mentioned.
Use the run configuration
jekyll serve --host $IP --port $PORT --config _config.yml,_local_config.yml
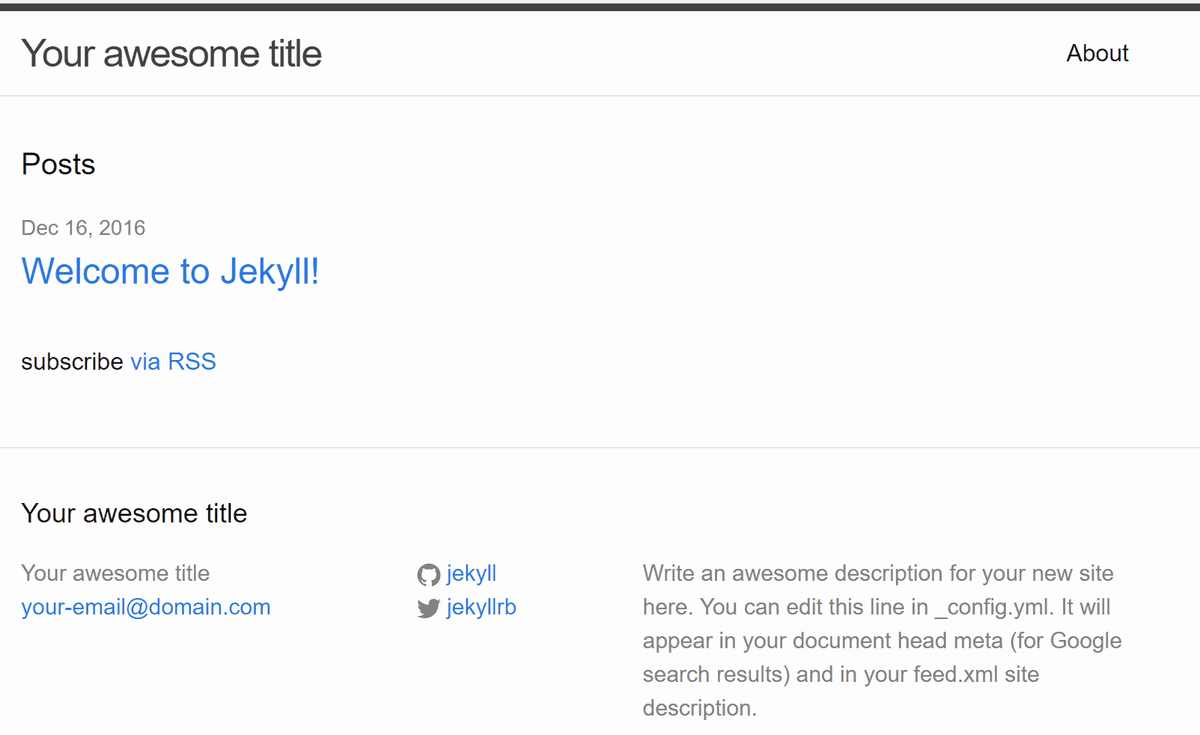
You get this:
new blog yay!
Confusing
Jekyll uses Liquid templating language which, for someone like me was a bit confusing. With me just getting used to the layout of a ‘standard’ web page I was then presented with liquid ‘tags’ something I’m still not completely clear on what some of them do.
_layouts, _includes, meta.html
WTF? I had no idea, I’m still not totally clear on the why, I add a default.html then Jekyll complains that there’s a missing meta.html file, I create a _includes folder and add an empty meta.html and it builds fine, no idea.
So after creating a default.html and then comparing with Jekyll Now
and Barry’s sites I was able to piece together a default.html,
page.html and post.html which looked hideous so I then had to
start with CSS on the page,I took the majority of it from Barry’s blog
page with the intention of modifying it to my own liking.
In the end I took quite a bit of CSS, the Meyer Reset was something I knew nothing of before starting this, now I think it’s quite a handy thing to have/know.
Variables, again I knew nothing about this before playing around with Jekyll but really helped me understand CSS a little bit more than I did before.
Then stuff for analytics and Disqus, then there was stuff I added in that I liked, like font-awesome and some Google fonts I like so I could have a nice footer like the one in my CodePen portfolio I like.
Markdown
Oh, it’s not the right Markdown, why isn’t is showing the GitHub
Markdown Scott?? Because you’ve used the @import "highlights"; on
your style.css oh ok, so I’d prefer GitHub Markdown, ok no problem,
go remove the @import "highlights"; from your style.css you’ll be
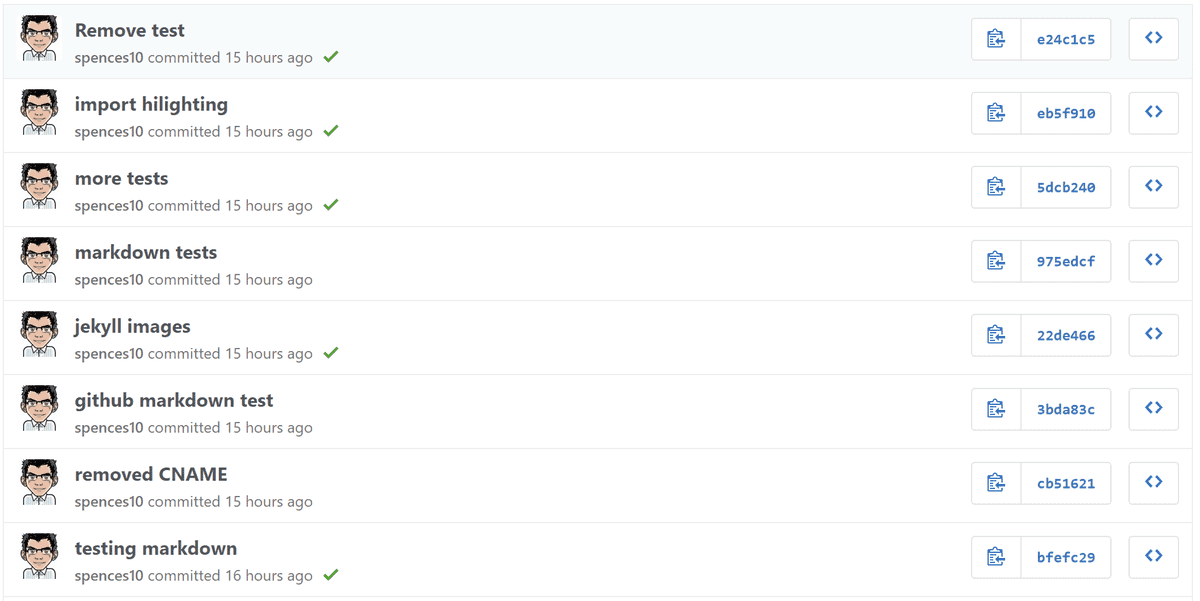
golden, no worries. Queue a raft of commits with me dicking around
with various combinations of having corrected _config.yml entries it
got pretty messy.
Currently I am still with the _hilights.scss in the sass folder
which I’m going to have to play around with to get it how I like it,
hopefully I’ll get to learn a bit more about it all and understand how
much of a tool I was.
Preview
One last thing that bugged me that I couldn’t do was the content
preview thing on the posts, it’s partly why I went from Jekyll Now to
my own vanilla build, I was getting that first paragraph to show on
the main blog page I found it eventually, not on the post.html or
the default.html no it was on the index.html here:
{``{ post.content | split:"<!--more-->" | first }``}
Then add the <!--more--> tag after the first paragraph on your post,
then I added a class to float the image on the top of the post and
flow around the image, the CSS is this:
1// see image in content preview2// only adjust width OR height so aspect ration is maintained3.floated{4 float: right;5 display: block;6 width: 33vw;7 max-width: 250px;8}So I have the basics I think, still a fair bit to play around with but for now I have what I need.
Back to Top


